Prerequisites to run revaluation scripts
These first steps are generic for any R projects - chose/create a directory for the project. This example is based on RStudio Desktop, a featured IDE for R. It is not required to use RStudio, alternative IDEs can be used to reproduce this example.
RStudio Project
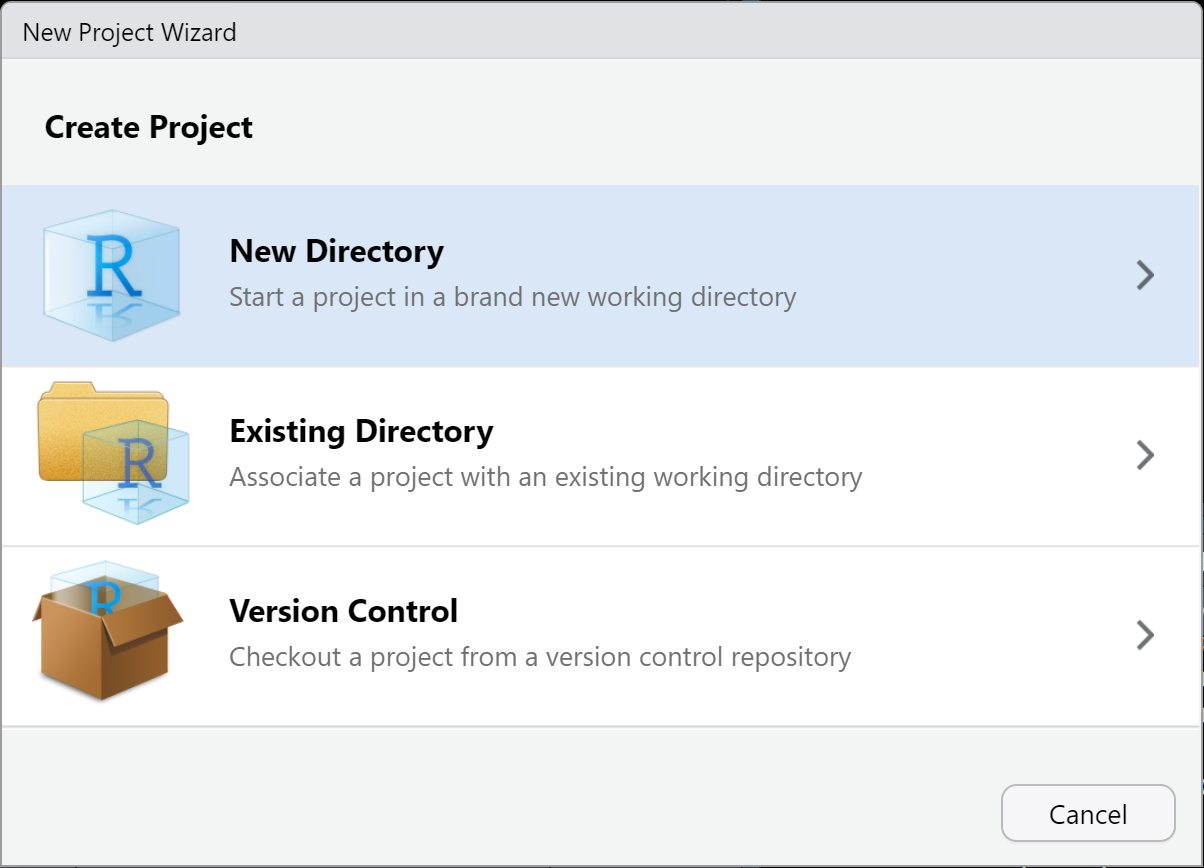
Assuming R and RStudio are already installed, follow the standard steps to create RStudio project (from menu: File / New Project..). Choose new or existing directory.
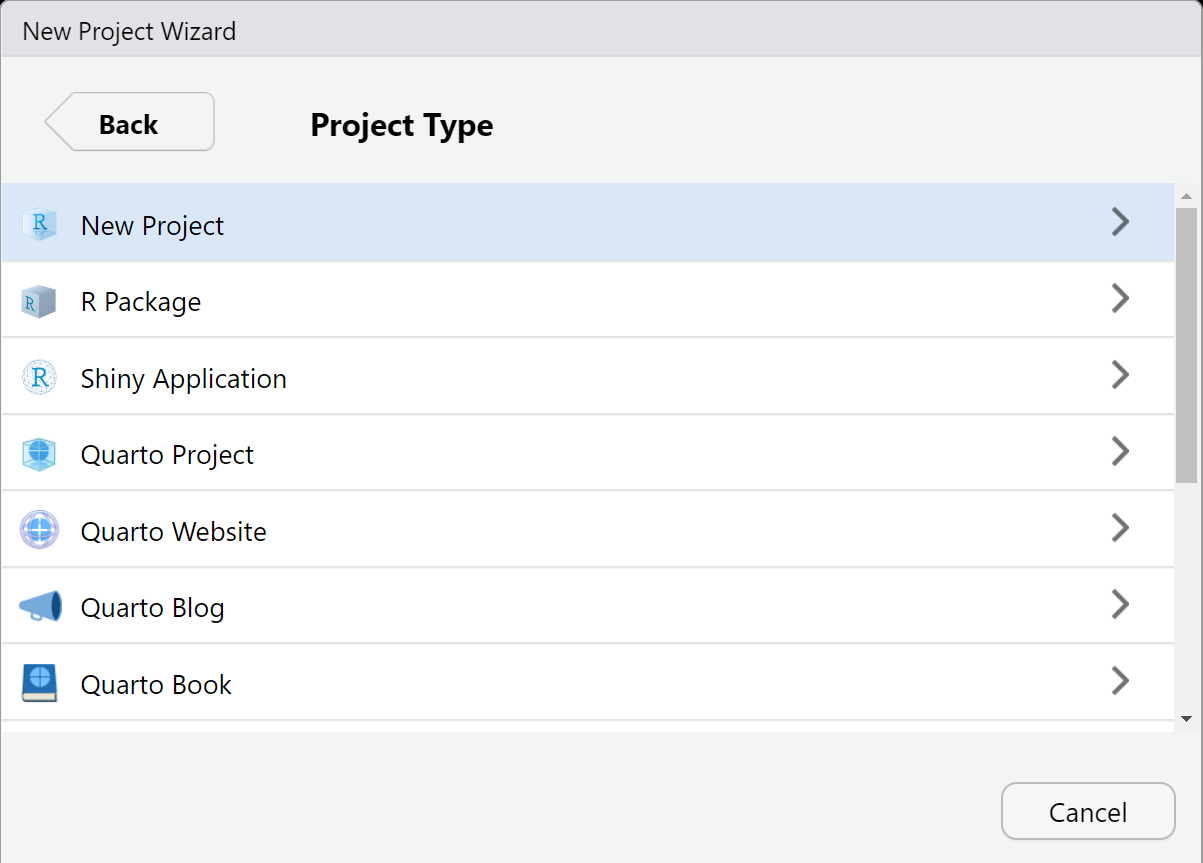
Choose New Project.
Write the name of the directory (ODPP in this
example).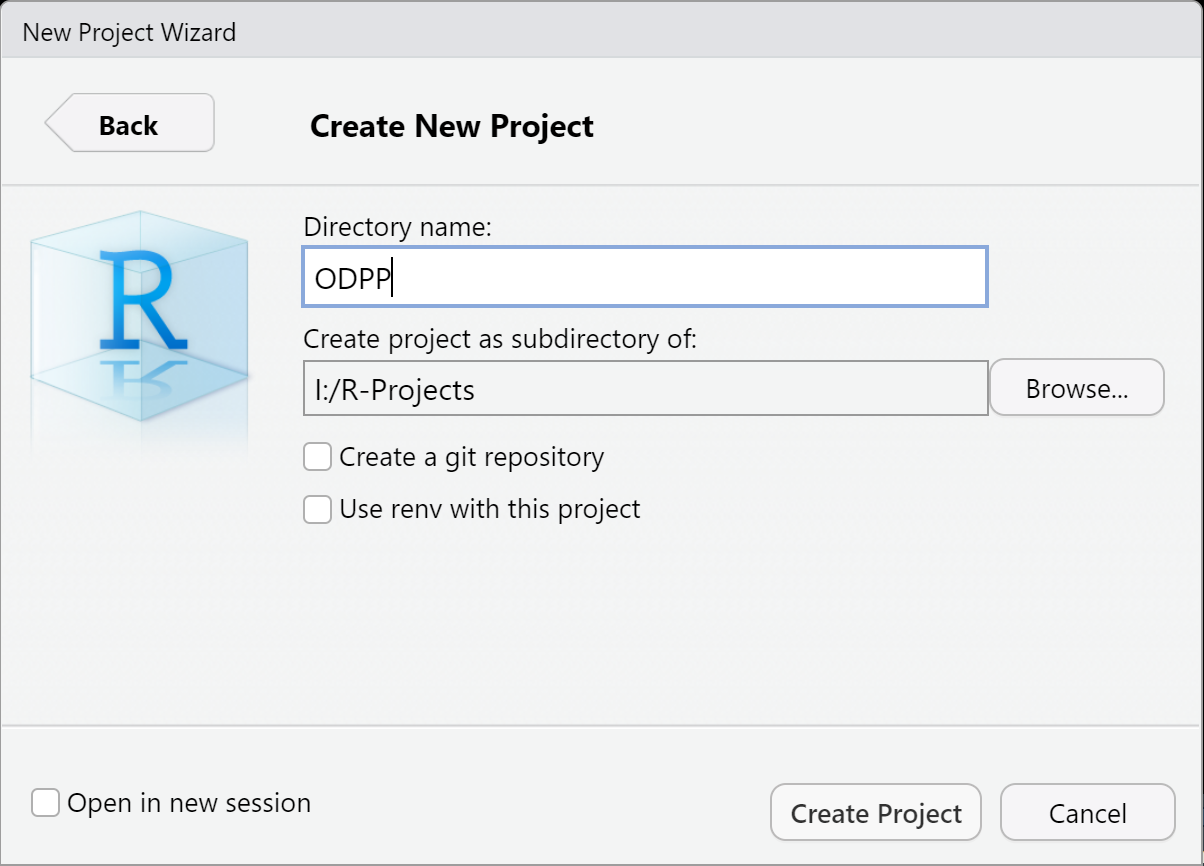
R Markdown File
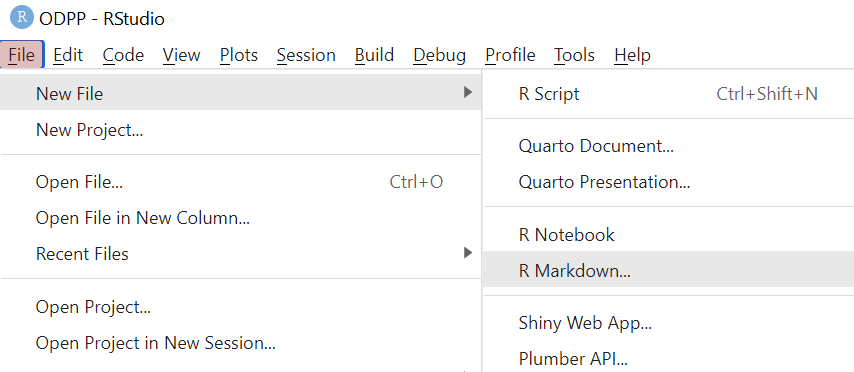
In the created project, use menu to add new R Markdown
file (alternatives: Quatro Document,
R Notebook, or R Script).
Clean the example script after the yaml header.
Use the Rmd-document menu to insert R code chunk.
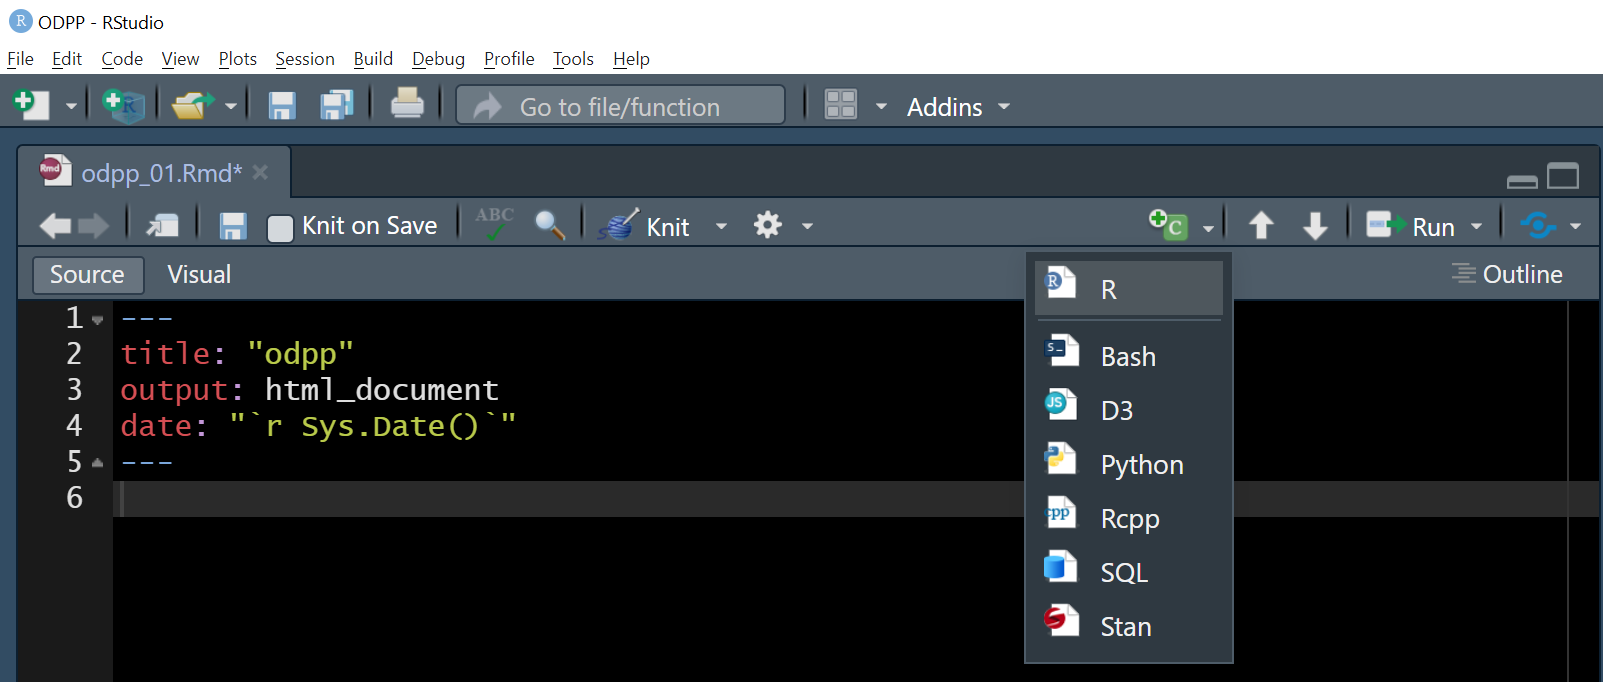
(Optionally) write the chunk name after r
(install in our case) and add knitr
parameters/options after coma. Option eval = FALSE will
indicate that the chunk will not be evaluated/executed when the whole
file is sourced.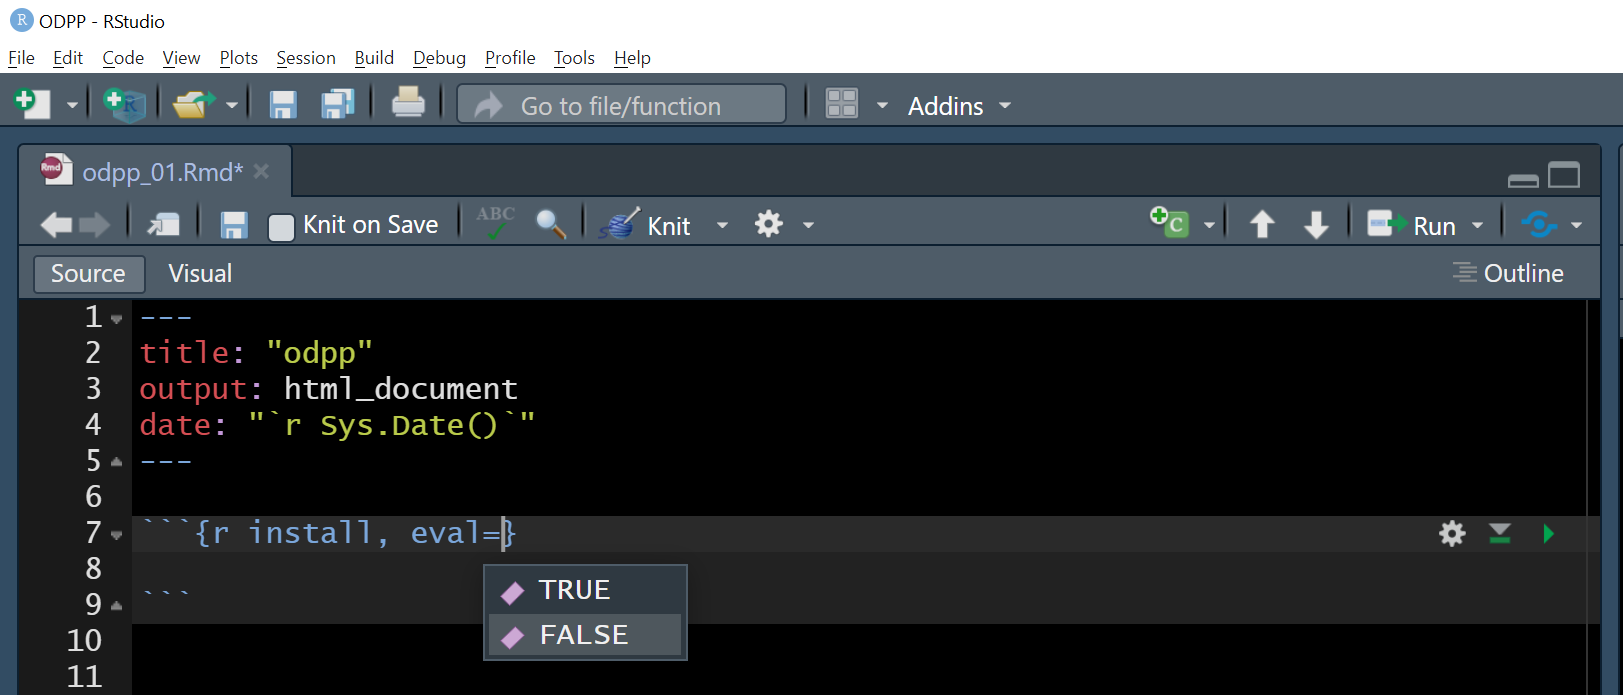
Add the revaluation package installation script.
# run once to (re-)install, then comment (Ctrl+Shift+C)
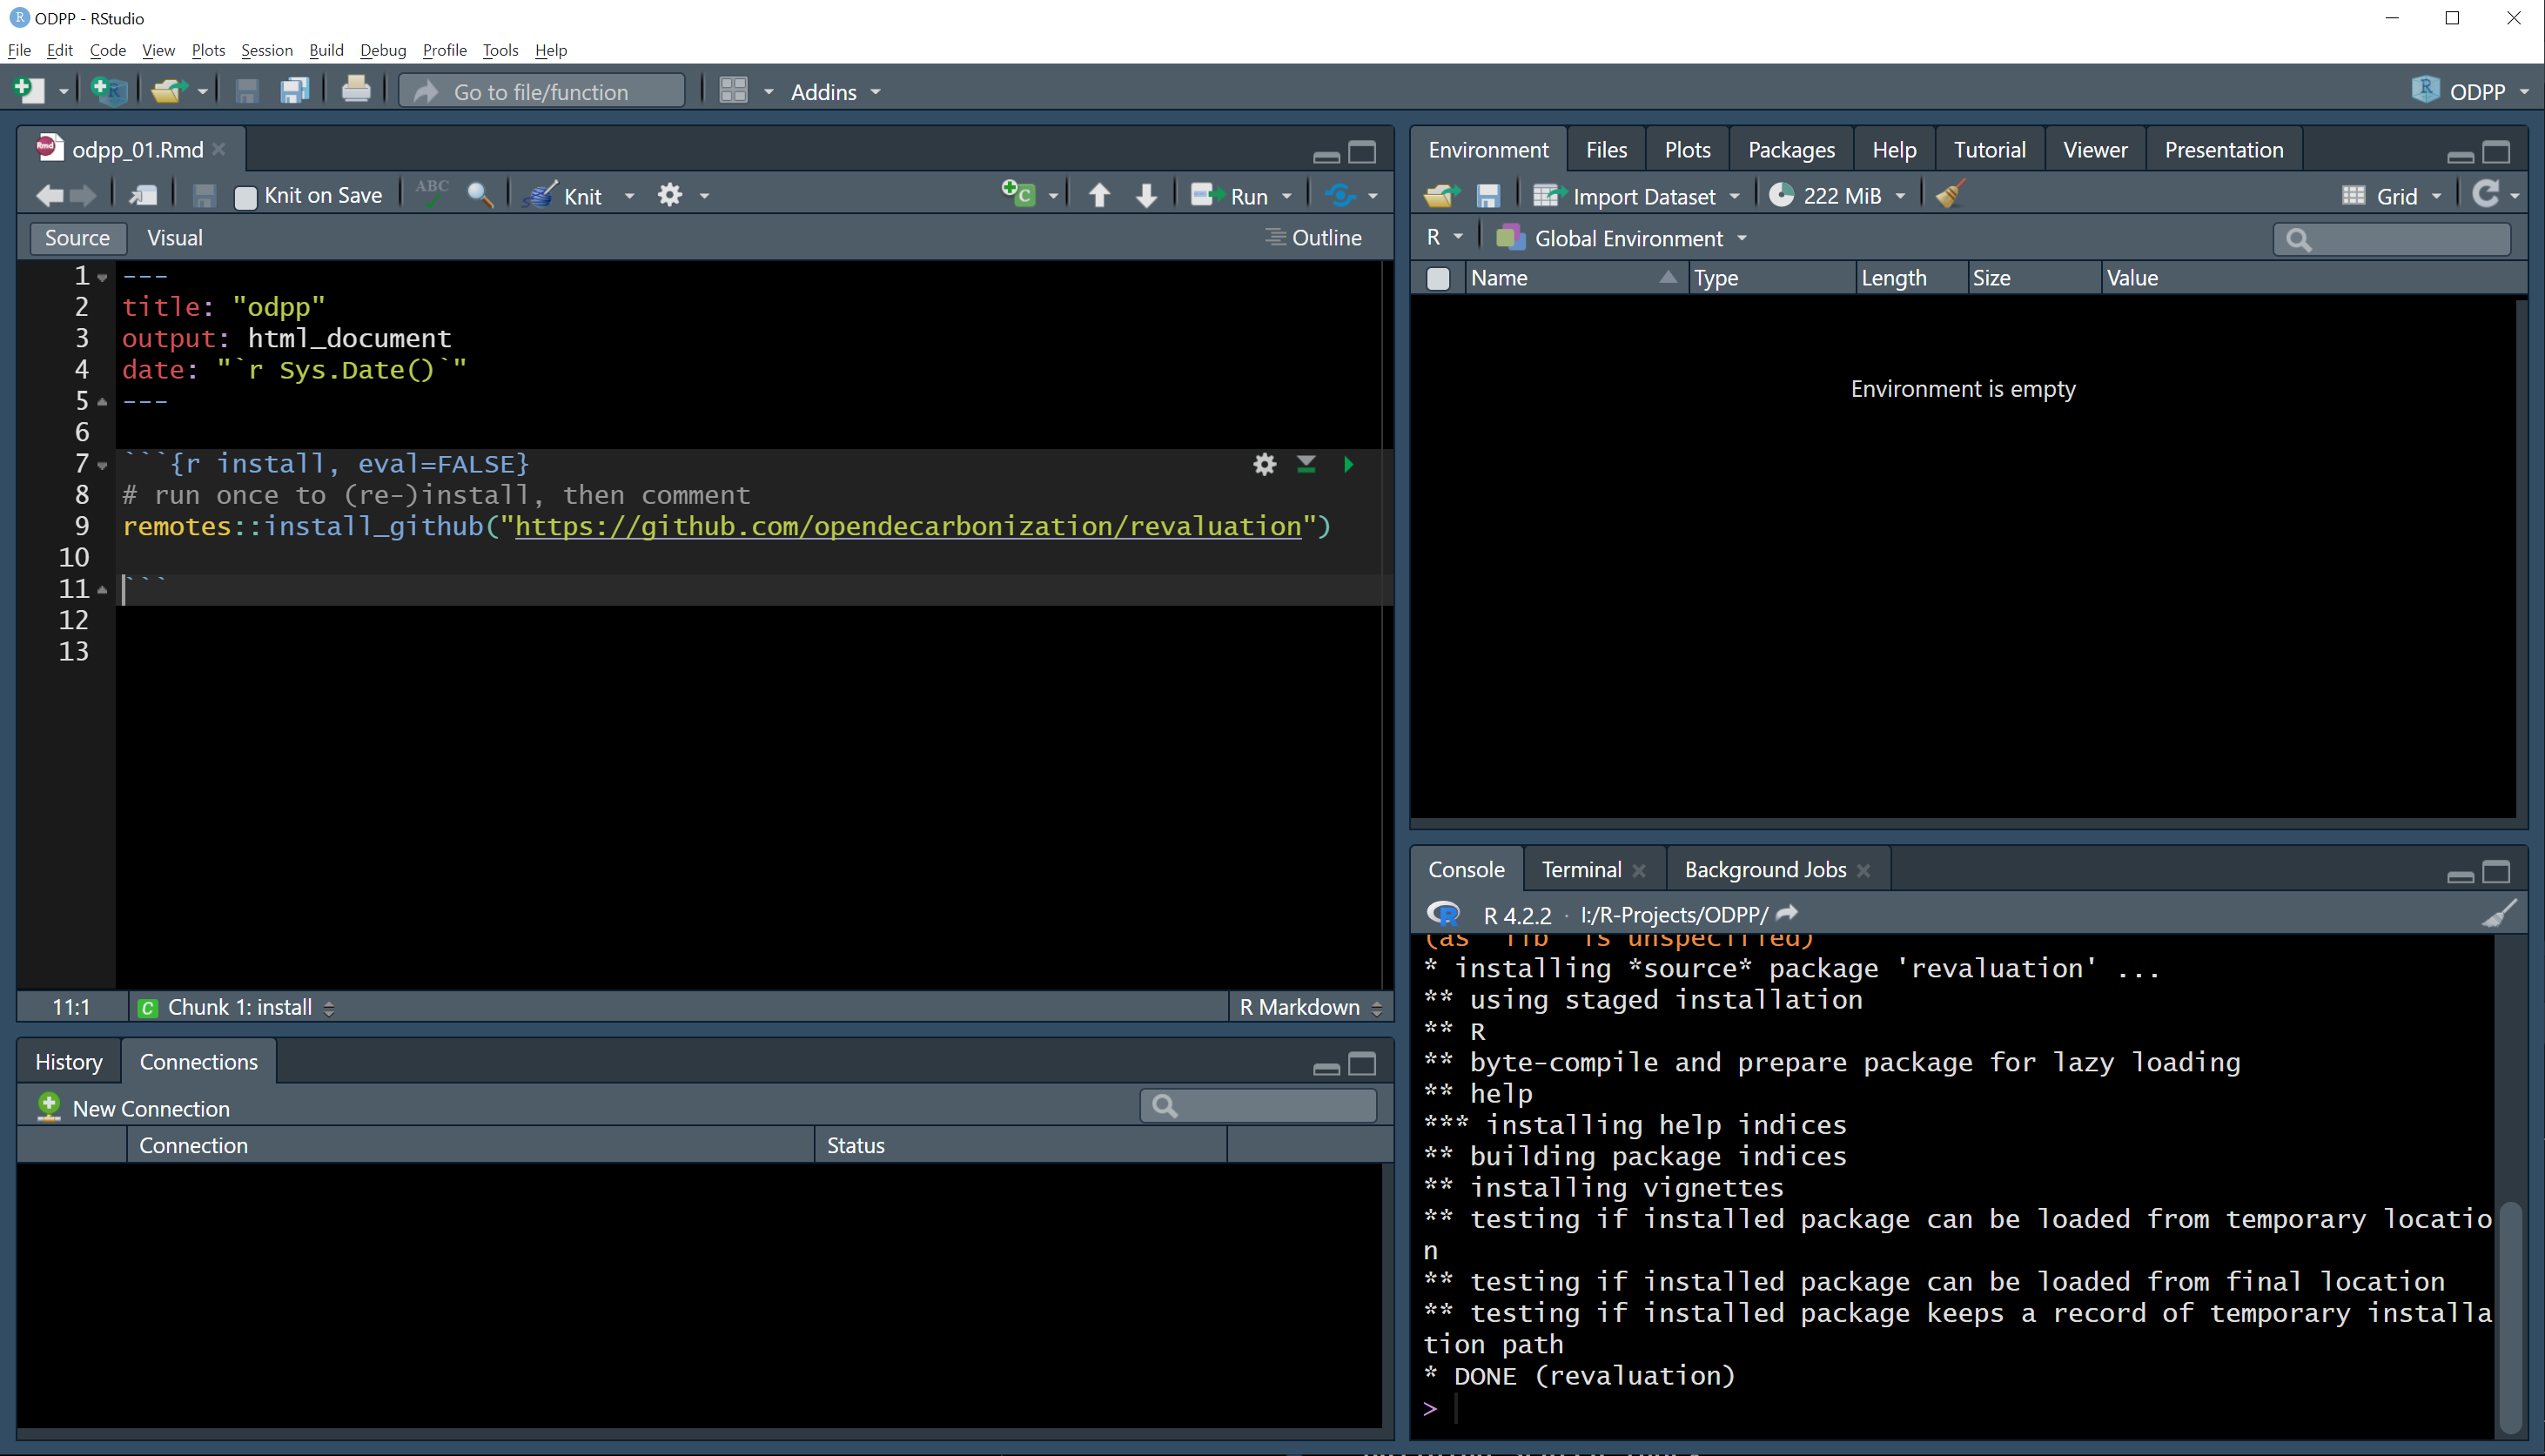
remotes::install_github("https://github.com/opendecarbonization/revaluation")Run the line (Ctrl+Enter, see Run menu
on the top of the Rmd file). This will install the
revaluation library from GitHub. DONE
(revaluation) in the Console indicates that
the installation is successful.
Customisation (optional)
After first installation of RStudio, it is recommended to adjust some
default settings and (optionally) customize the IDE layout and the
theme.
From menu use Tools/Global Options.. to access RStudio
glogal options.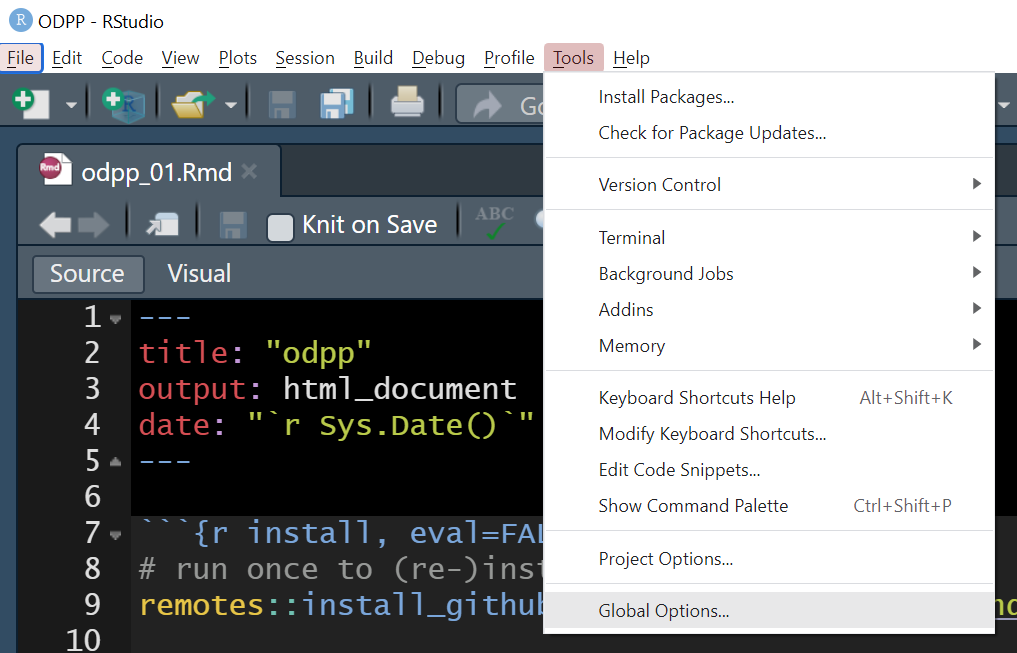
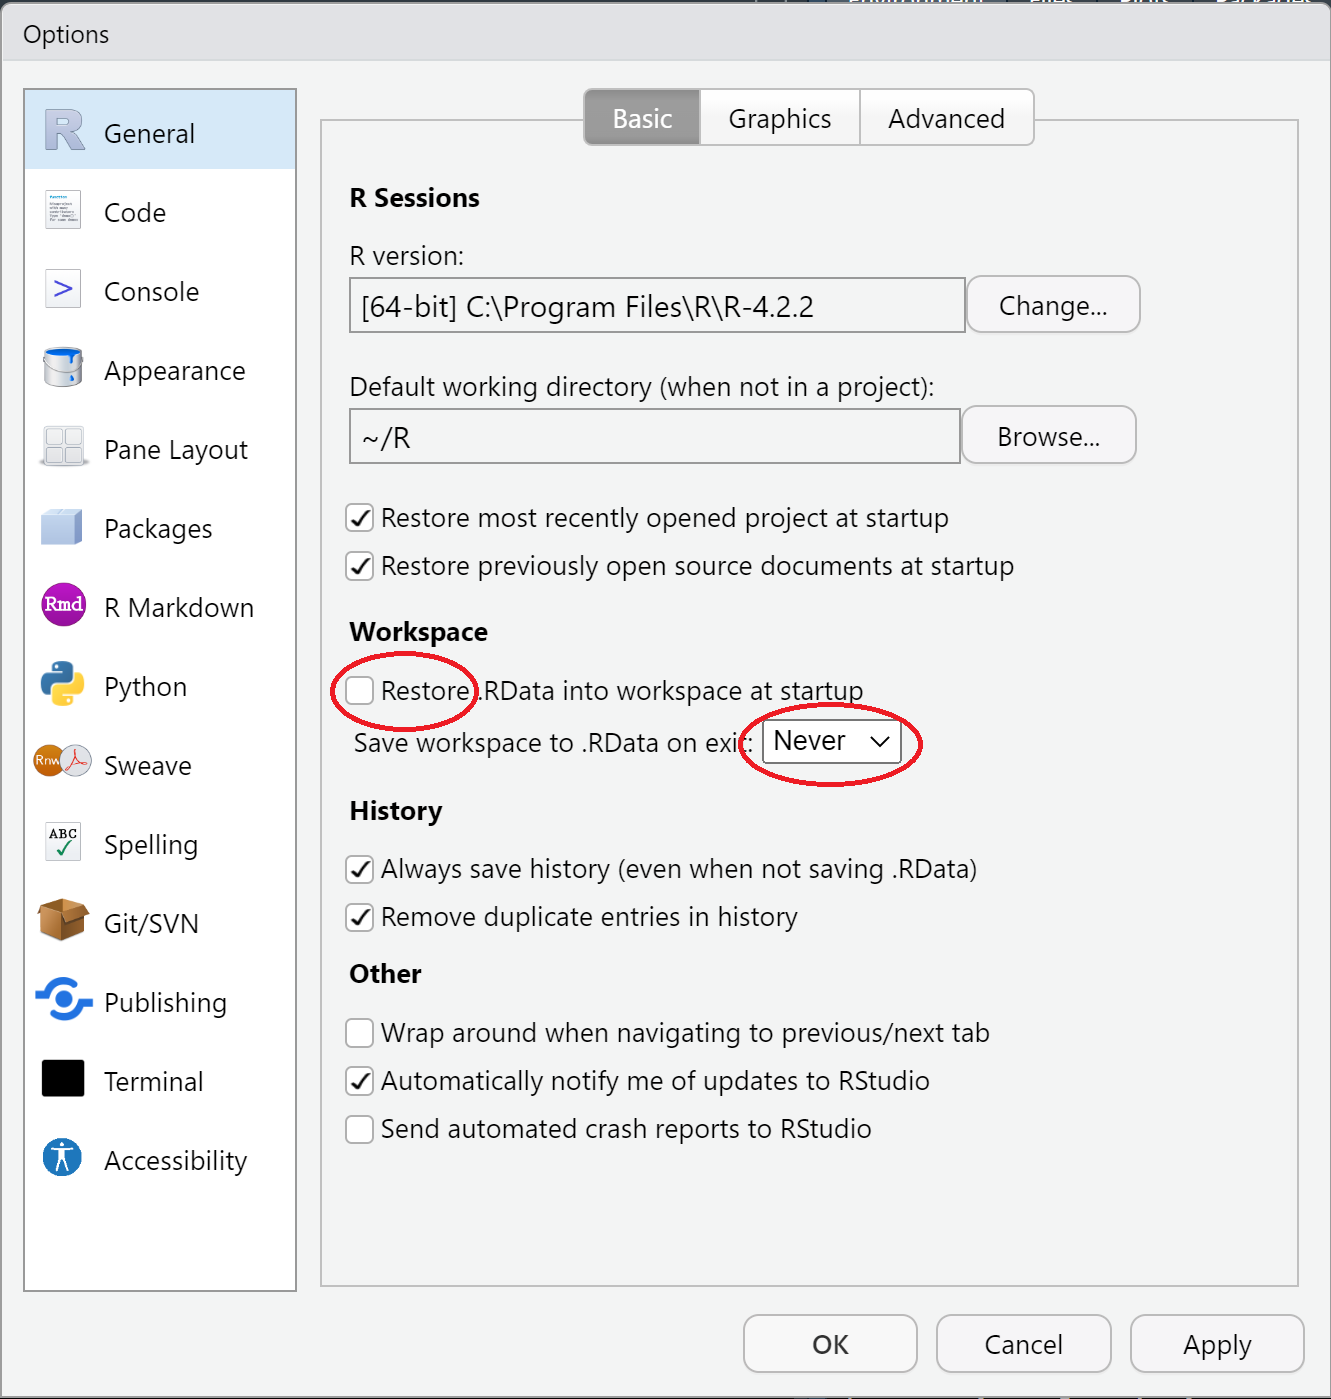
It is recommended to chose to do not automatically save and load the
workspace after restart as shown below. This feature is confusing for
new users and completely unnecessary.
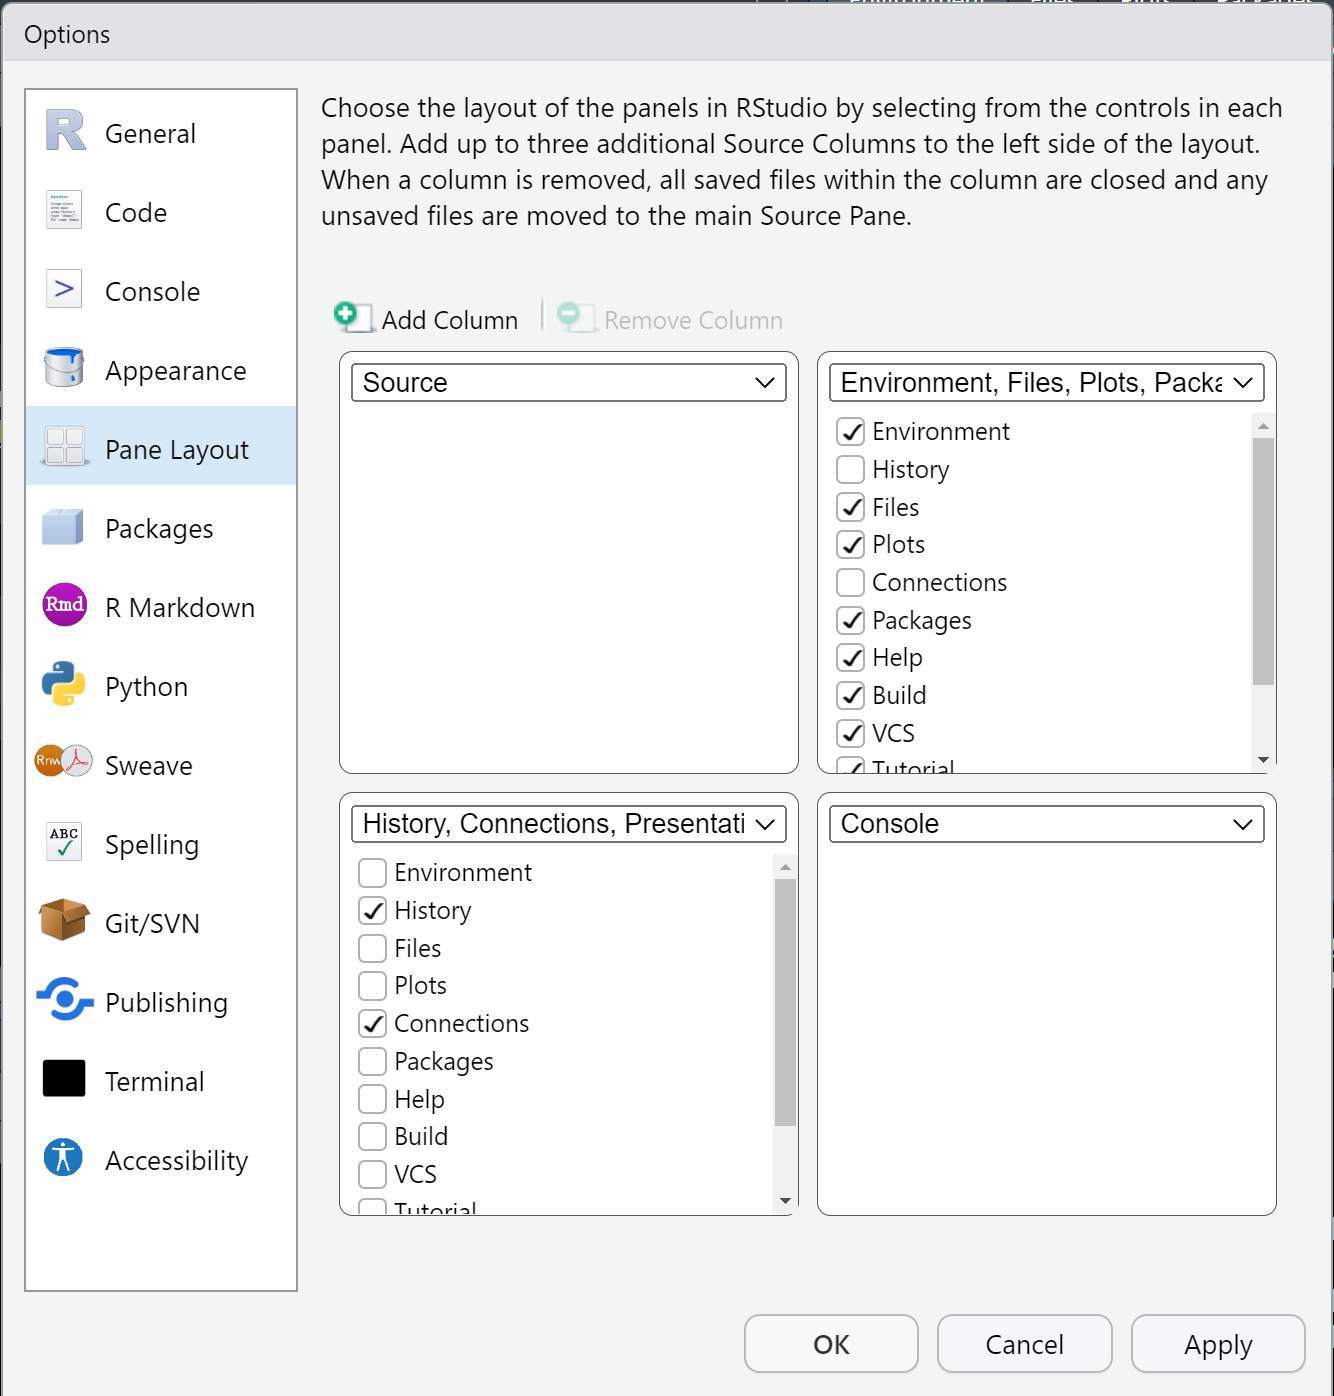
(Optional) use Pane Layout option to customize the locations
of different screens. In this example the script editor (Source - top
left quadrant) is combined with some rarely used items (Connections and
History) to reserve the whole left side of the window for the script
editing.
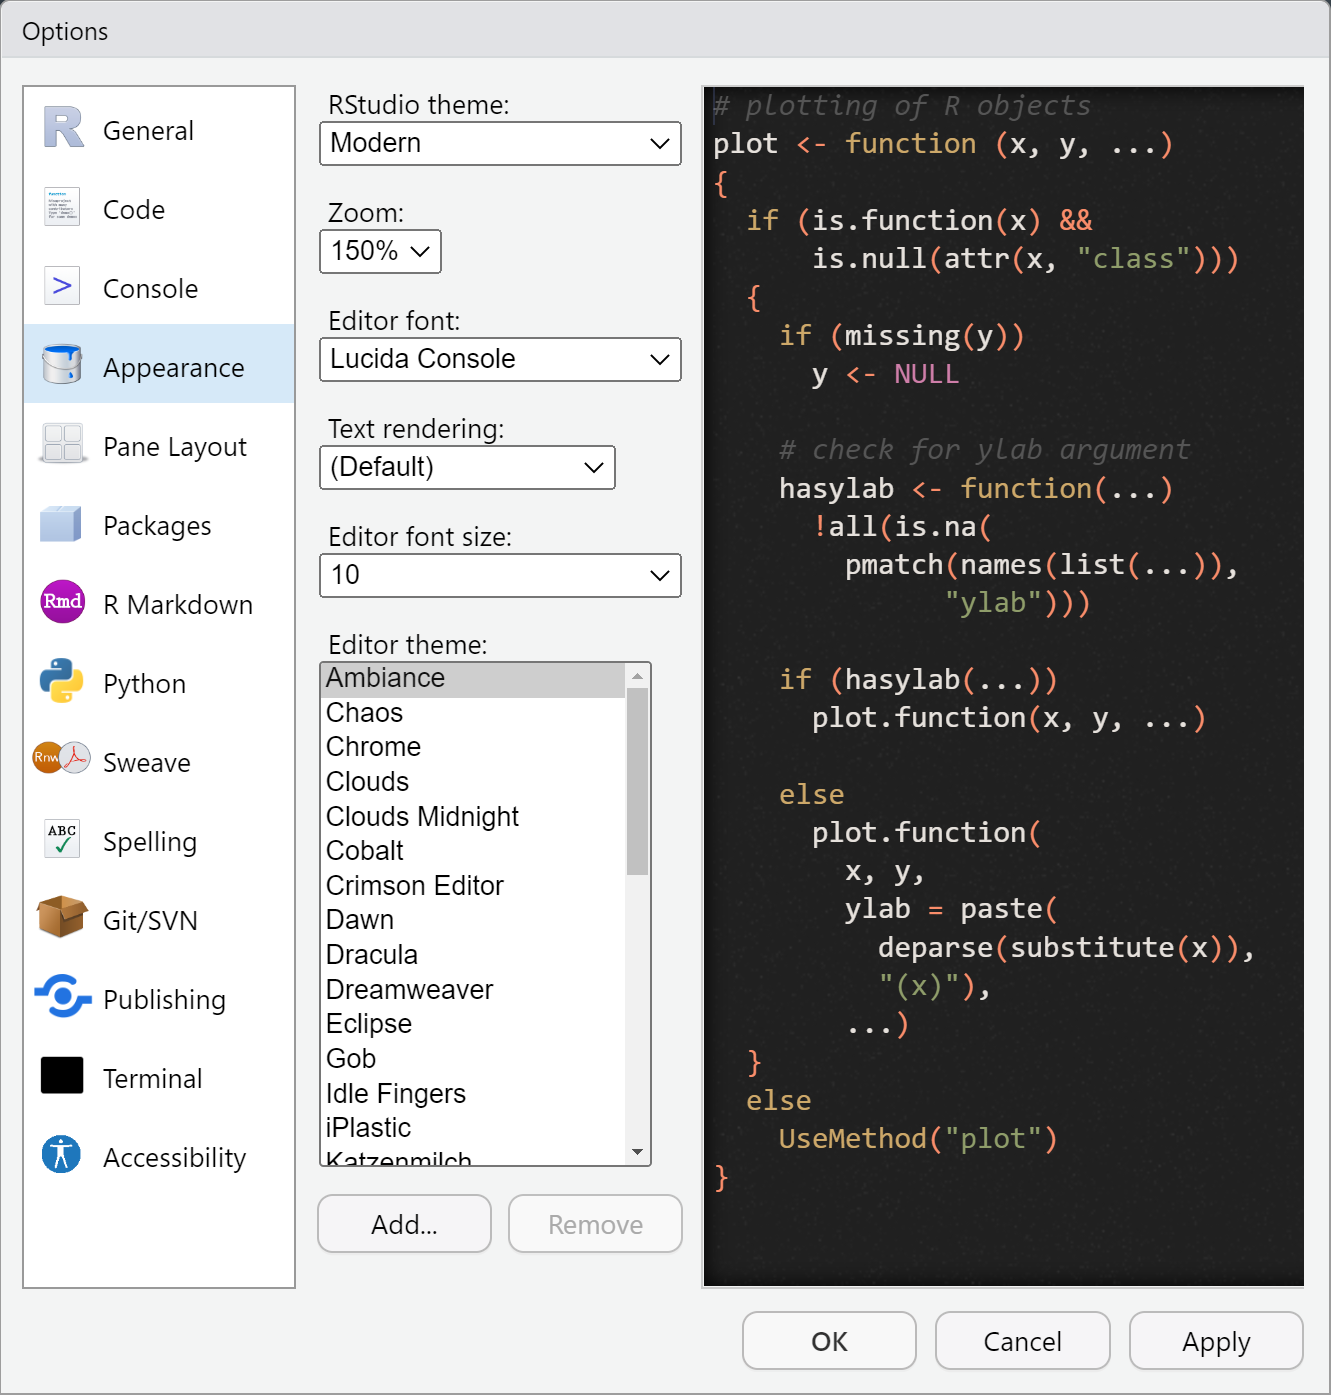
(Optional) chose the Editor theme.
Another suggested customization is regarding the process of
evaluation of Rmd-files. By default, the preview is In Window
and outputs from chunks are Inline. This makes the experience
of working with Rmd files in RStudio similar to Jupiter
notebooks, but also makes big projects “slow” and “heavy”. The
settings below redirects the output to console and viewer panel.